Section 4: Setting Up Your WordPress Site (5 minutes)
General Settings
“Now that we’ve installed WordPress and are familiar with the dashboard, let’s configure some essential settings to personalize your site and ensure it functions correctly.
Step 1: Access General Settings
- In the WordPress Dashboard, navigate to ‘Settings’ > ‘General’.
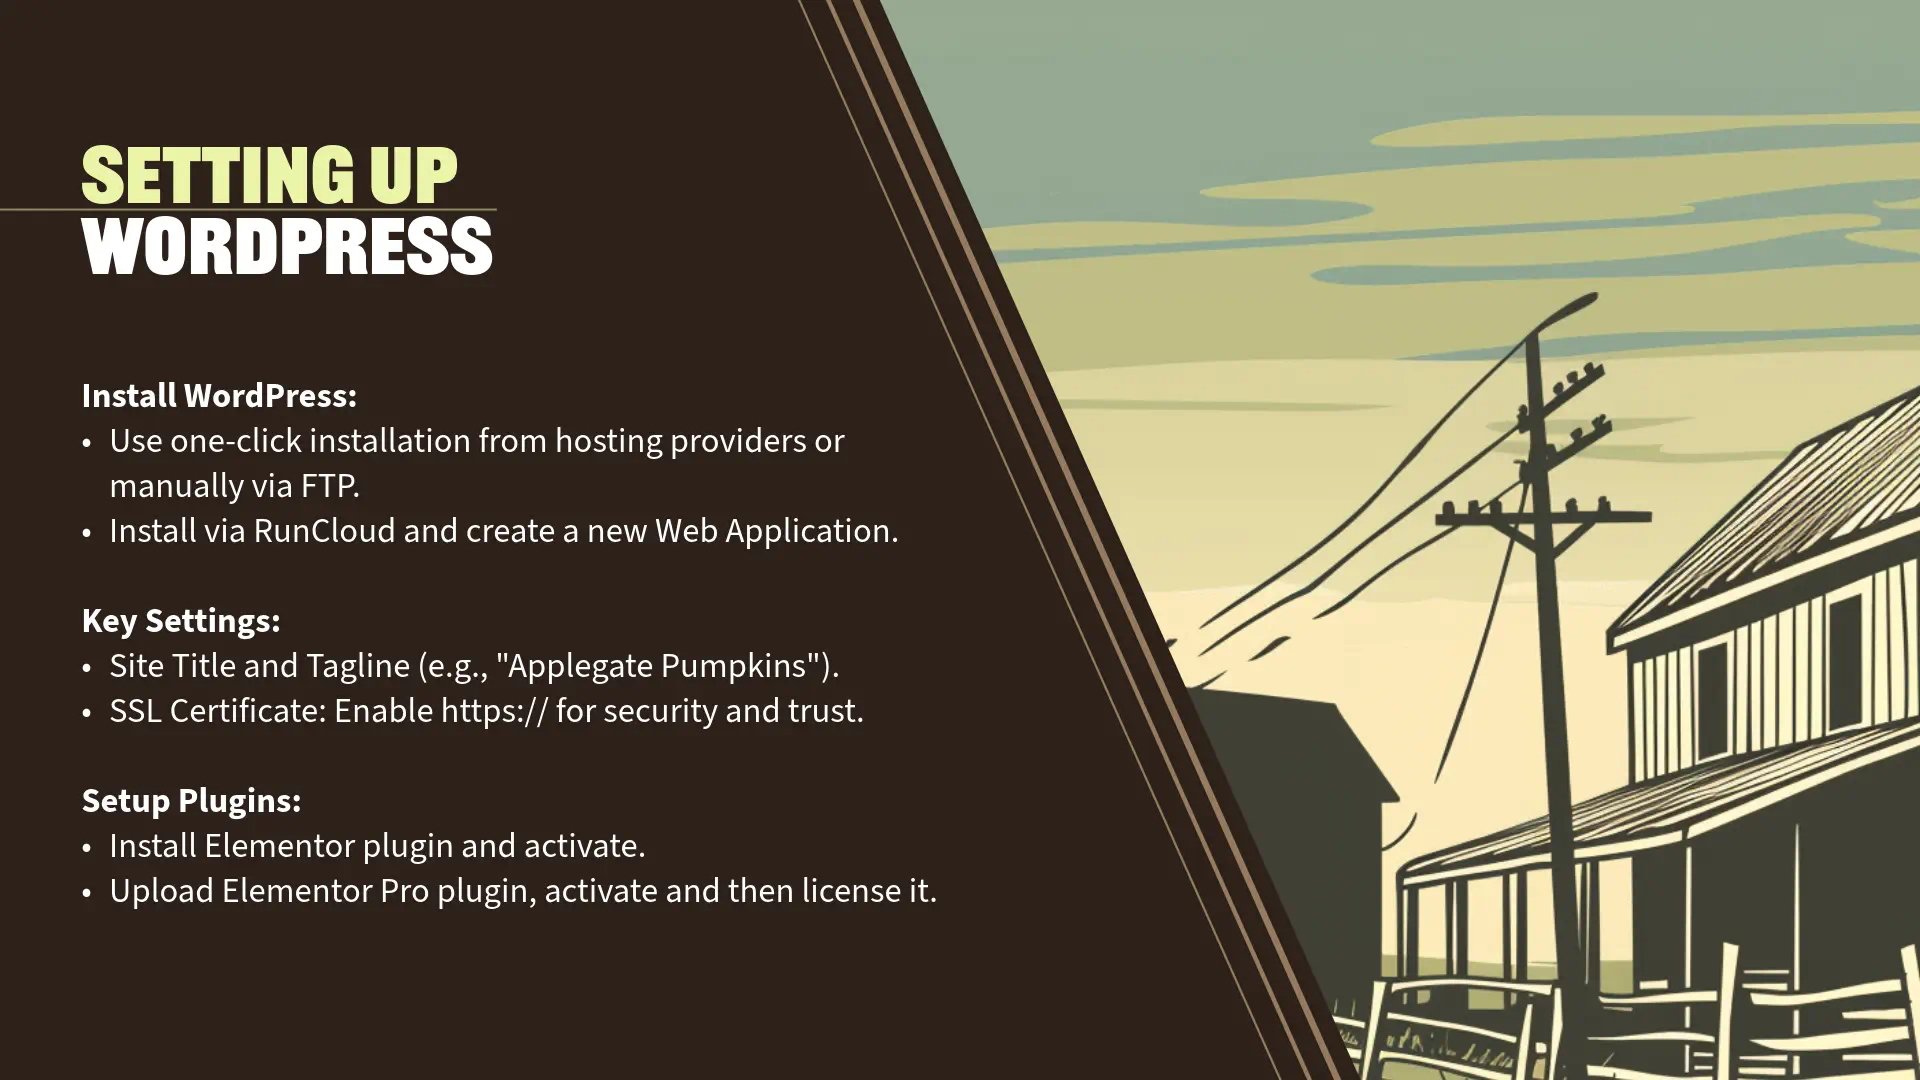
Step 2: Update Site Title, Tagline and SSL
- Site Title:
- This is the name of your website and appears in the browser title bar and in various locations depending on your theme.
- For our demonstration, the site title is ‘Applegate Pumpkins’.
- Update the Site Title:
- Click on the ‘Site Title’ field and enter ‘Applegate Pumpkins’ (or your own site name).
- Tagline:
- A brief description or slogan that complements your site title.
- It often appears in the header or footer of your site, depending on your theme.
- Update the Tagline:
- In the ‘Tagline’ field, enter a concise description of your site.
- Example: ‘Organic Pumpkins, Grown with Love in Applegate Valley’.
- SSL:
- This is the where we can change the website to always encrypt traffic to the
- Update the Site Address to SSL:
- WordPress Address (URL)
- Site Address (URL)
Step 3: Set Timezone and Date Formats
- Timezone:
- Setting the correct timezone ensures that your posts and pages display the correct publication times.
- It’s also important for scheduling posts and managing time-sensitive content.
- Update Timezone:
- Scroll down to the ‘Timezone’ section.
- Select your city or the nearest city in your timezone from the dropdown menu.
- For example, if you’re in the Pacific Time Zone, you might select ‘Los Angeles’.
- Date Format:
- Choose how dates will appear on your site.
- Update Date Format:
- Under ‘Date Format’, select your preferred format.
- You can choose one of the common options or enter a custom format.
- Example: ‘F j, Y’ which displays as ‘October 15, 2023’.
- Time Format:
- Choose how times will appear on your site.
- Update Time Format:
- Under ‘Time Format’, select your preferred format.
- Example: ‘g:i a’ which displays as ‘3:30 pm’.
- Week Starts On:
- Set the first day of the week for your site. This affects calendar widgets and other date-related functions.
- Update Week Starts On:
- Choose ‘Monday’ or ‘Sunday’ based on your preference.
Step 4: Save Changes
- After updating the settings, click the ‘Save Changes’ button at the bottom of the page to apply the updates.
Permalinks Settings
“Next, we’ll configure the permalinks settings to ensure your site’s URLs are SEO-friendly and easy for visitors to read.
What Are Permalinks?
- Permalinks are the permanent URLs to your posts, pages, and other content on your site.
- Choosing a clear and descriptive permalink structure improves SEO and user experience.
Step 1: Access Permalink Settings
- In the WordPress Dashboard, navigate to ‘Settings’ > ‘Permalinks’.
Step 2: Choose an SEO-Friendly URL Structure
- You’ll see several options for permalink structures:
- Plain: Default option with query strings (e.g., ‘?p=123’).
- Day and Name: Includes the date and post name (e.g., ‘/2023/10/15/sample-post/’).
- Month and Name: Includes the month and post name (e.g., ‘/2023/10/sample-post/’).
- Numeric: Uses the post ID in the URL.
- Post Name: Includes only the post name (e.g., ‘/sample-post/’).
- Custom Structure: Allows you to define a custom URL structure.
- Recommended Option:
- Select ‘Post Name’:
- This structure is clean, simple, and includes keywords from your post titles.
- It’s user-friendly and preferred by search engines.
- Select ‘Post Name’:
Step 3: Save Changes
- After selecting ‘Post Name’, click the ‘Save Changes’ button at the bottom of the page.
Note:
- Changing permalinks on an established site can cause broken links. Since we’re setting this up on a new site, it’s the perfect time to configure this setting.
Engagement Opportunity
“Configuring these settings may seem minor, but they have a significant impact on your site’s professionalism and accessibility.
- Site Title and Tagline:
- Think about how you want your site to be perceived.
- A compelling tagline can engage visitors and convey your site’s purpose immediately.
- Timezone and Date Formats:
- Ensure your content scheduling aligns with your local time.
- This is particularly important if you plan to publish content regularly or have events.
- Permalinks:
- An SEO-friendly URL structure helps search engines index your content effectively.
- It also makes your URLs more readable and shareable.
Personal Insights
“For Applegate Pumpkins, setting the site title and tagline helps visitors immediately understand the site’s focus on celebrating the harvest in our local community.
By choosing the ‘Post Name’ permalink structure, our blog posts and pages will have clean, descriptive URLs like ‘applegatepumpkins.com/fall-festival/’, which is both user-friendly and good for SEO.
Transition to Next Section
“With these foundational settings in place, our WordPress site is now personalized and optimized for both visitors and search engines. Next, we’ll choose and install a theme to define our site’s appearance. We’ll be using the ‘Hello Elementor’ theme, which integrates seamlessly with Elementor and provides a flexible foundation for our design.”