Section 3: Installing WordPress (10 minutes)
One-Click Installation with RunCloud
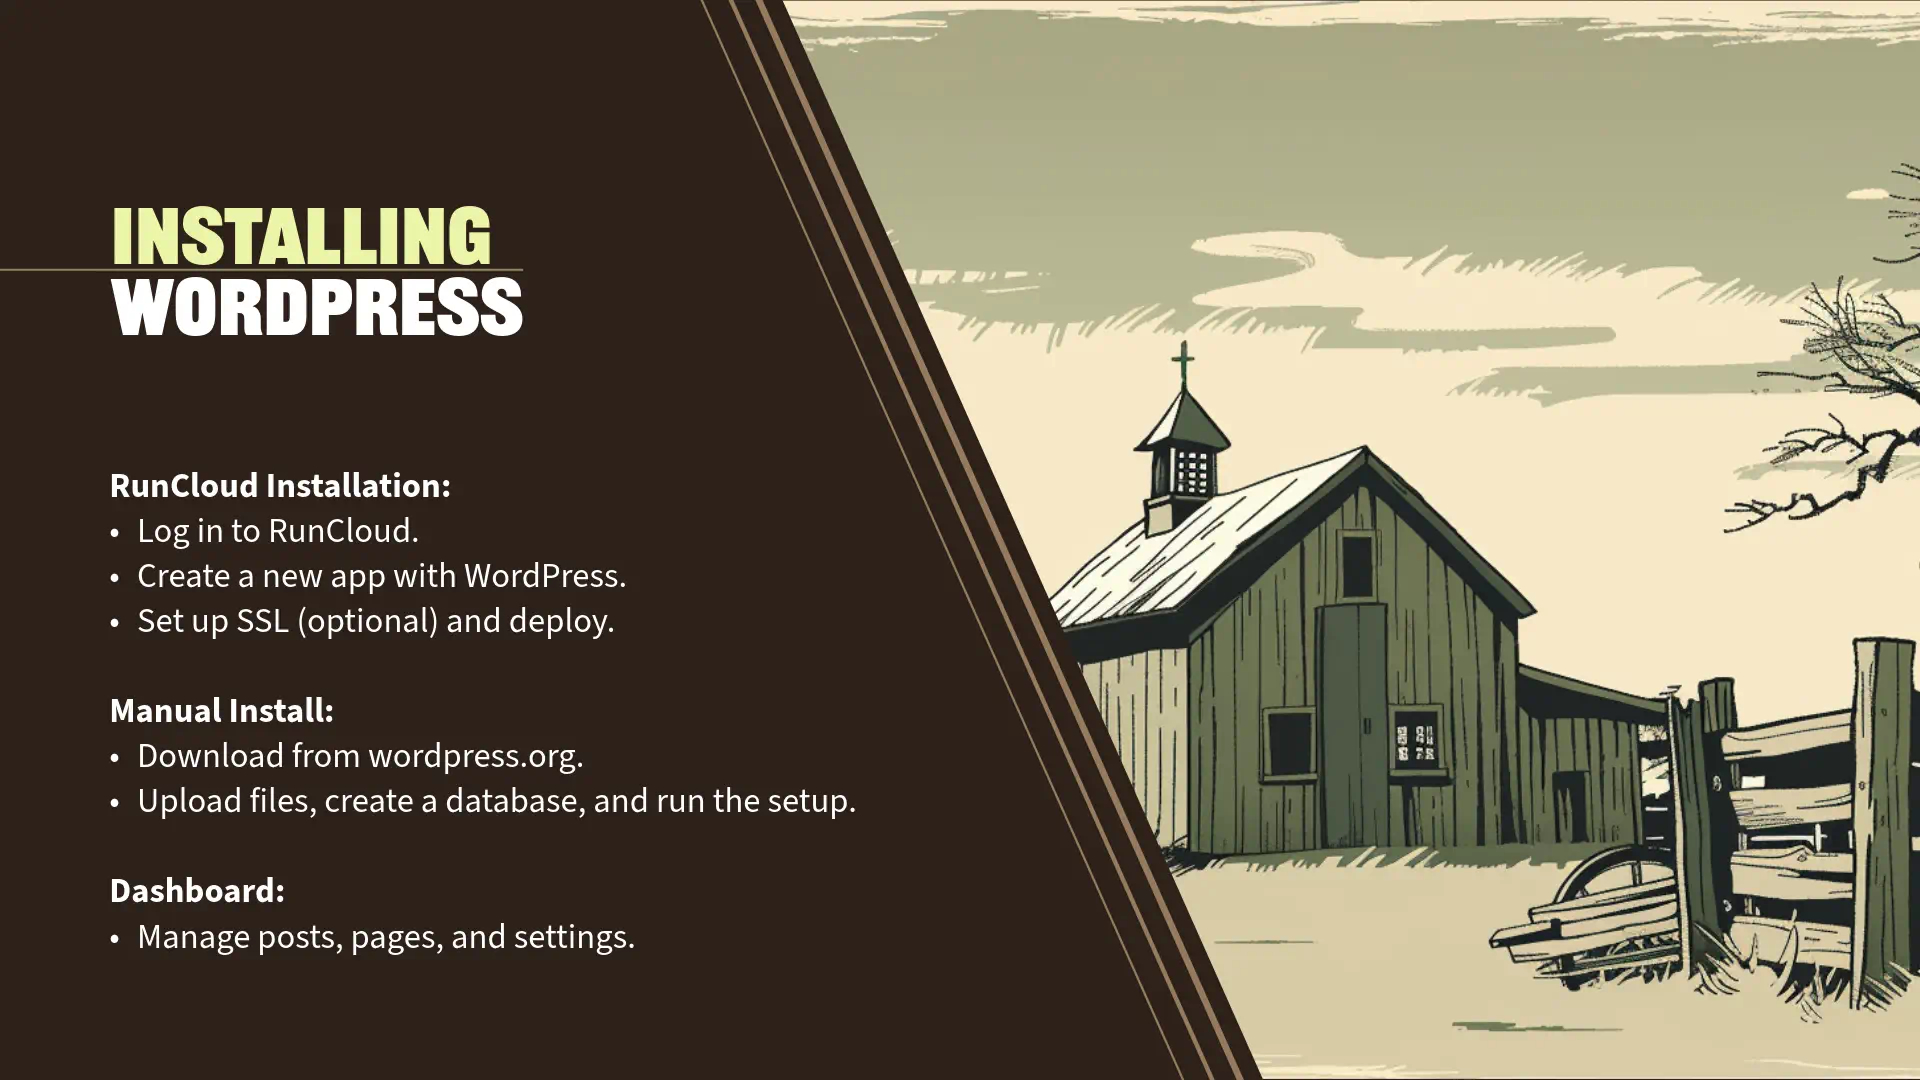
“Now that we’ve selected our domain and hosting, it’s time to install WordPress. Since I’m using RunCloud to manage our server for this demonstration, I’ll show you how to install WordPress using RunCloud’s interface.
Demonstration: Installing WordPress with RunCloud
Step 1: Log In to RunCloud Dashboard
- Navigate to manage.runcloud.io and log in to your account.
Step 2: Create a New Web Application
- In the RunCloud dashboard, select your server from the list.
- Click on ‘Web Applications’ in the left-hand menu.
- Click the ‘Create Web Application’ button.
Step 3: Configure Your Web Application
- Domain Name: Enter your domain name, e.g., applegatepumpkins.com.
- Web Application Name: This can be the same as your domain or any identifier you prefer.
- Web Application Type: Select ‘WordPress’ from the dropdown menu. This will automate the WordPress installation process.
- System User: Use the default user or create a new one if you prefer.
Step 4: Install WordPress
- Review your settings and click ‘Add Web Application’.
- RunCloud will now set up the web application and install WordPress automatically.
Step 5: Advanced Options
- Enable SSL Certificate: You can set up an SSL certificate now or later. For this demonstration, we’ll use the default options.
Step 6: Site Information
- Site Title: Enter Applegate Pumpkins.
- Username: Create an admin username (avoid using ‘admin’ for security reasons).
- Password: Generate a strong password.
- Your Email: Enter your email address.
- Click ‘Deploy applegatepumpkins’.
Step 7: Access Your WordPress Site
- Once the installation is complete, you can access your site by navigating to applegatepumpkins.com in your web browser.
- This is the default WordPress theme Twenty Twenty-Four. Yay! It looks like everything is working.
Manual Installation (Simplified Overview)
“While we used RunCloud’s automated process to install WordPress, it’s helpful to understand the basic steps involved in a manual installation, even if we won’t go into much detail.
Simplified Steps for Manual Installation:
- Download WordPress:
- Go to wordpress.org and download the latest version of WordPress.
- Upload Files to Server:
- Use the webhosts File Manager or an FTP client to upload the WordPress files to your web application’s root directory.
- Create a Database:
- Click on ‘Database’ and create a new database.
- Note down the database name, username, and password.
- Configure wp-config.php:
- Rename wp-config-sample.php to wp-config.php.
- Edit the file to include your database details.
- Save the changes.
- Run the WordPress Installation Script:
- Navigate to yourdomain.com in your web browser.
- Follow the on-screen instructions to complete the setup.
Why Understand Manual Installation?
- Awareness: Knowing these steps gives you a deeper understanding of how WordPress works.
- Troubleshooting: It can help you diagnose issues that may arise during installation or updates.
- Flexibility: Allows for custom configurations not available through automated installers.
Exploring the WordPress Dashboard
“With WordPress installed, let’s log in to the WordPress Dashboard and familiarize ourselves with its key sections.
Accessing the Dashboard:
- Go to Applegatepumpkins/wp-admin.
- Enter your admin username and password.
- Click ‘Log In’.
Dashboard Overview:
- Dashboard Home:
- At a Glance: Provides an overview of your site’s content and WordPress version.
- Activity: Shows recent posts, comments, and other activities.
- Quick Draft: Allows you to quickly write a new post draft.
- Posts:
- All Posts: View, edit, or delete existing blog posts.
- Add New: This is where you would create a new blog post.
- Categories and Tags: Organize your posts for better navigation and SEO.
- Media:
- Library: Manage your uploaded images, videos, and other media files.
- Add New: Upload new media files.
- Pages:
- All Pages: View, edit, or delete existing pages.
- Add New: Create a new page (e.g., ‘About Us’, ‘Contact’).
- Comments:
- Moderate comments left by visitors.
- Approve, reply, edit, or mark comments as spam.
- Appearance:
- Themes: Install, activate, or customize themes.
- Customize: Access the Theme Customizer to adjust site identity, colors, menus, widgets, and more.
- Widgets: Add content to sidebars, footers, or other widget-ready areas.
- Menus: Create and manage navigation menus.
- Plugins:
- Installed Plugins: View and manage installed plugins.
- Add New: Install new plugins to extend your site’s functionality.
- Users:
- All Users: Manage user accounts.
- Add New: Create new users and assign roles (e.g., Administrator, Editor, Author).
- Your Profile: Edit your personal profile settings.
- Tools:
- Available Tools: Access tools like category and tag converters.
- Import/Export: Import content from other platforms or export your site’s content.
- Settings:
- General: Set site title, tagline, WordPress address, admin email, timezone.
- Writing, Reading, Discussion: Configure post settings, homepage display, and comment settings.
- Media: Define default image sizes.
- Permalinks: Customize URL structures for posts and pages.
Live Walkthrough:
- Dashboard Home:
- Highlight the ‘At a Glance’ section showing your site’s basic info.
- Point out the ‘Site Health Status’ for important notifications.
- Creating a New Post:
- Navigate to Posts > Add New.
- Briefly demonstrate the Gutenberg block editor interface.
- Media Library:
- Show how to upload images.
- Discuss the importance of alt text for accessibility and SEO.
- Customizing Appearance:
- Go to Appearance > Themes.
- Show the default themes and explain that we’ll be installing ‘Hello Elementor’ in the next section.
Tips:
- Help and Screen Options:
- Point out the ‘Help’ and ‘Screen Options’ tabs at the top-right corner for additional guidance and customization.
- User Roles:
- Explain the different user roles and their permissions, which is important if others will contribute to your site.
Engagement Opportunity:
“Consider how you’ll use these features for your own website. For example, if you’re planning a blog, you’ll spend a lot of time in the Posts section. If you’re showcasing photography, the Media and Pages sections will be crucial.”
Transition to Next Section:
“Now that WordPress is installed using RunCloud and we’re comfortable navigating the dashboard, it’s time to configure some essential settings and choose a theme that will define our site’s look and feel. In the next section, we’ll set up our site information and install the ‘Hello Elementor’ theme to prepare for designing our pages with Elementor.”