Section 10: Final Touches and Launching Your Site (5 minutes)
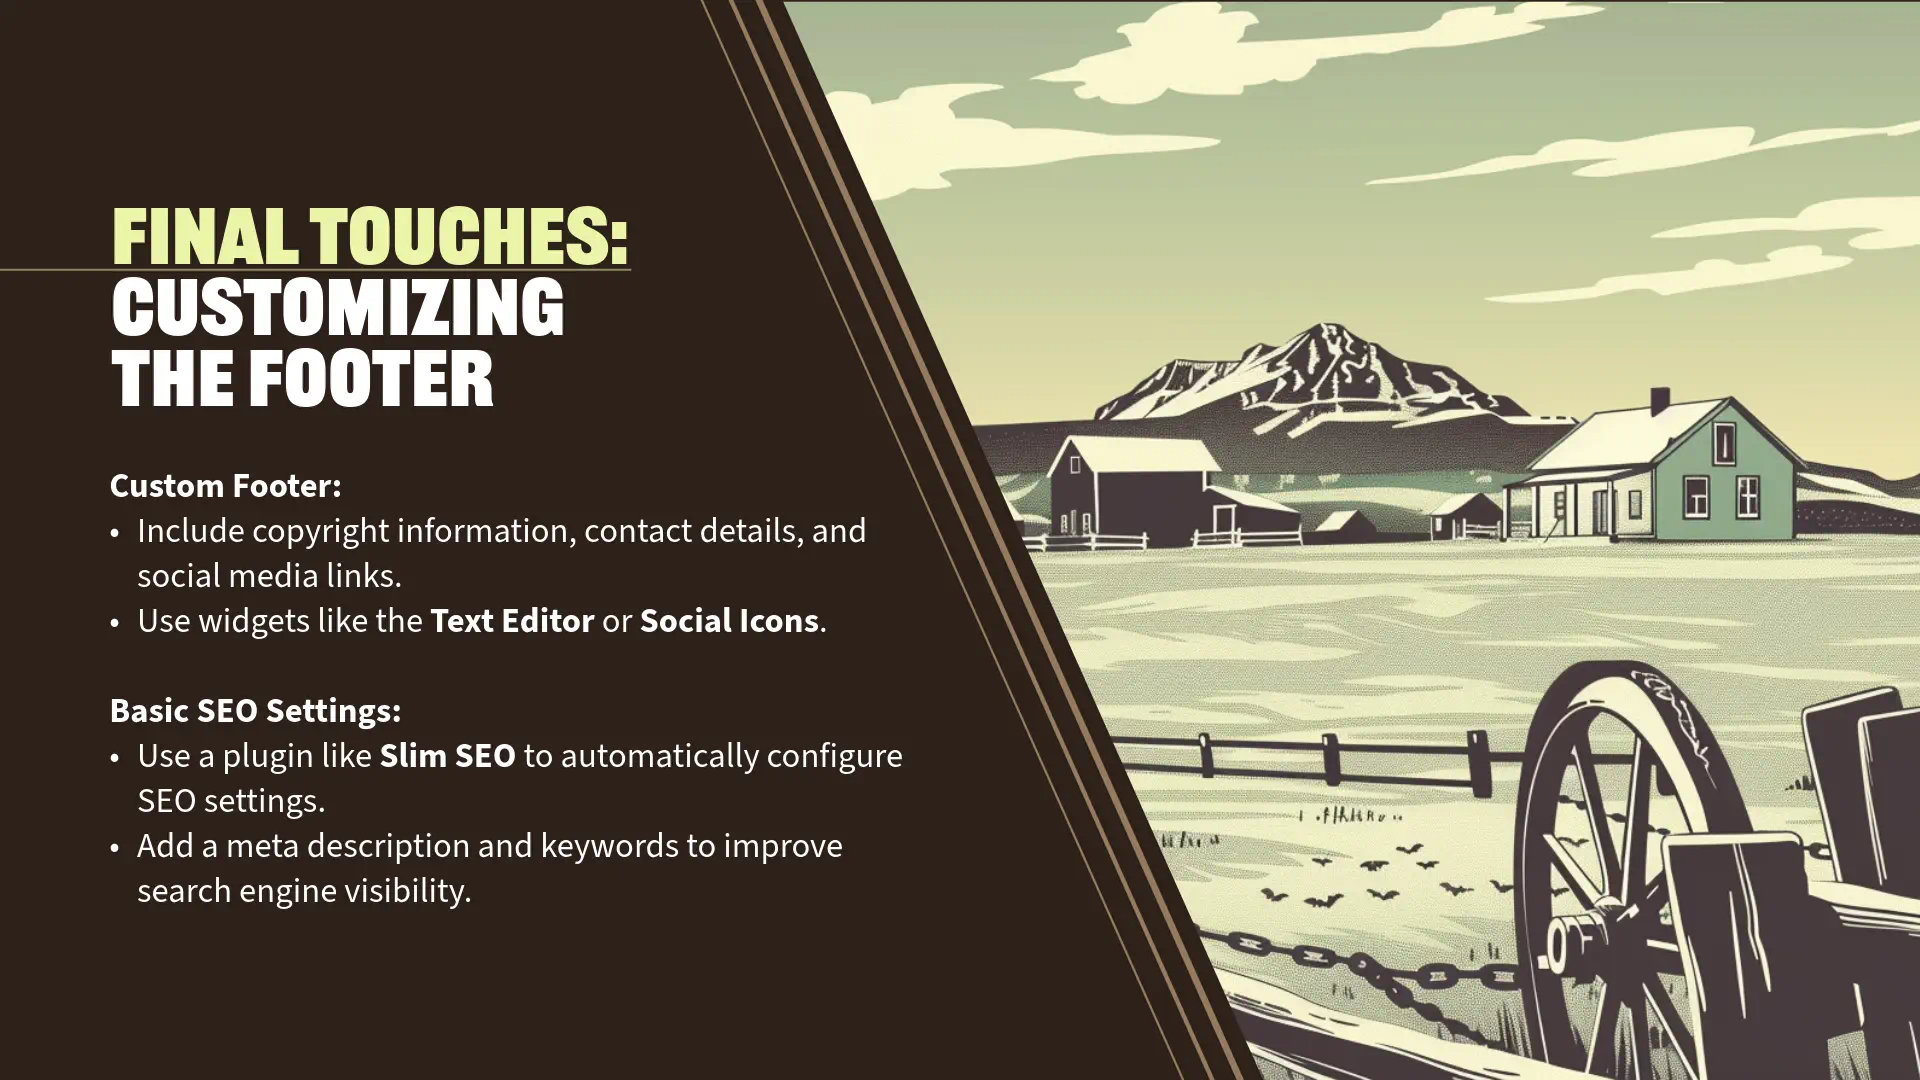
Customizing the Footer
“Now that your website’s main content is in place, it’s important to focus on the footer. The footer often contains essential information like copyright notices, additional navigation links, or contact details.
Editing the Footer with Elementor Theme Builder
Step 1: Access Elementor Theme Builder
- Navigate to ‘Templates’ > ‘Theme Builder’ in your WordPress Dashboard.
- Click on ‘Footer’ to create a new footer template.
- If you already have a footer template, you can edit it directly.
Step 2: Create a New Footer Template
- Click ‘Add New’ and select ‘Footer’ from the dropdown menu.
- Name Your Template: Enter a name like ‘Main Footer’.
- Click ‘Create Template’.
Step 3: Design the Footer
- Add a Section:
- Click the ‘+’ icon to add a new section.
- Choose a one-column or multi-column structure based on your preference.
- Insert Widgets:
- Text Editor Widget:
- Drag the ‘Text Editor’ widget into the section.
- Add your copyright information, e.g., “© 2023 Applegate Pumpkins. All rights reserved.”
- Social Icons Widget (Optional):
- Add social media links by dragging the ‘Social Icons’ widget.
- Navigation Menu (Optional):
- Include a footer menu by adding the ‘Nav Menu’ widget.
- Text Editor Widget:
- Style the Footer:
- Customize text, background colors, and spacing to match your site’s branding.
- Responsive Design:
- Switch to ‘Mobile’ view and adjust elements to ensure the footer looks good on all devices.
Step 4: Publish the Footer Template
- Click ‘Publish’.
- Set Display Conditions:
- Choose ‘Include > Entire Site’.
- Click ‘Save & Close’.
Previewing the Site
“With the footer customized, let’s review your entire website to ensure everything looks and functions as intended.

Step 1: Visit Your Website
- From the WordPress Dashboard, click on your site name at the top to visit the front end.
- Navigate through each page (‘Home’, ‘About’, ‘Contact’).
Step 2: Check for Consistency and Functionality
- Verify that all text, images, and links are correct.
- Test forms and interactive elements.
- Ensure the site is responsive on different devices.
Testing Site Performance and SEO Before Optimization
“Before optimizing further, let’s assess our site’s current performance and SEO readiness using Google PageSpeed Insights at pagespeed.web.dev.
Step 1: Run a Speed and SEO Test
- Access PageSpeed Insights:
- Go to pagespeed.web.dev.
- Enter Your Site’s URL:
- Input ‘https://applegatepumpkins.com‘ (replace with your own site URL).
- Click ‘Analyze’:
- The tool will analyze your site for both mobile and desktop.
Step 2: Review the Results
- Performance Scores:
- You’ll receive scores for Performance, Accessibility, Best Practices, and SEO.
- In our initial test, the SEO score is 85 out of 100.
- Understanding the Scores:
- Performance: Measures load times and responsiveness.
- Accessibility: Evaluates how accessible your site is to all users.
- Best Practices: Checks adherence to web development standards.
- SEO: Assesses how well your site is optimized for search engines.
Why These Scores Matter
- User Experience:
- Faster, more accessible sites retain visitors longer.
- Search Engine Ranking:
- Higher scores can improve your position in search results, increasing visibility.
Basic SEO Settings and Re-testing Performance
“To improve our SEO score, we’ll install an SEO plugin. Let’s proceed with installing Slim SEO.
Installing Slim SEO Plugin
Step 1: Install and Activate Slim SEO
- Navigate to ‘Plugins’ > ‘Add New’.
- Search for ‘Slim SEO’.
- Click ‘Install Now’ next to Slim SEO by eLightUp.
- Click ‘Activate’.
Step 2: Configure Slim SEO
- Automatic Configuration:
- Slim SEO works out of the box with minimal setup.
- Access Plugin Settings:
- Go to ‘SEO’ in your WordPress Dashboard.
- Set Global Meta Tags:
- Homepage Meta Description:
- Write a compelling description, e.g., “Experience the magic of harvest season at Applegate Pumpkins. Join us for family fun in Applegate Valley!”
- Homepage Meta Description:
Re-testing Site Performance After Optimization
“Now that Slim SEO is installed, let’s see how it has affected our site’s SEO score.
Step 1: Run the Speed and SEO Test Again
- Return to pagespeed.web.dev.
- Input ‘https://applegatepumpkins.com‘.
- Click ‘Analyze’.
Step 2: Review the New Results
- Improved SEO Score:
- The SEO score has increased to 92 out of 100.
- Understanding the Improvement:
- Slim SEO adds essential meta tags and optimizes site structure, enhancing SEO.
- Other Performance Metrics:
- Check if other scores have improved and note any remaining issues.
Why This Matters
- Enhanced Visibility:
- A higher SEO score means search engines can better understand and rank your site.
- Better User Experience:
- Optimizations often improve site speed and accessibility.
- Competitive Advantage:
- Outperforming competitors in SEO can lead to more traffic.
Publishing the Site
“With improvements in place, it’s time to make your site live.
Step 1: Disable Maintenance Mode
- If using Elementor’s Maintenance Mode:
- Go to ‘Elementor’ > ‘Tools’.
- Click the ‘Maintenance Mode’ tab.
- Set ‘Mode’ to ‘Disabled’.
- Click ‘Save Changes’.
Step 2: Ensure Site Visibility
- Go to ‘Settings’ > ‘Reading’.
- Make sure ‘Discourage search engines from indexing this site’ is unchecked.
- Click ‘Save Changes’ if you made any changes.
Additional SEO Tips
- Use Descriptive URLs:
- With ‘Post Name’ permalinks, your URLs are already SEO-friendly.
- Optimize Images:
- Add alt text and compress images for faster load times.
- Create Quality Content:
- Regularly update your site with valuable information.
- Internal Linking:
- Link between pages to improve navigation and SEO.
Engagement Opportunity
“Optimizing your site not only improves performance but also enhances user satisfaction.
- Monitor Progress:
- Regularly check your site’s performance and SEO scores.
- Stay Updated:
- Keep plugins and content up to date for security and relevancy.
- Engage with Your Audience:
- Use analytics to understand visitor behavior and preferences.
Personal Insights
“Seeing the SEO score improve from 85 to 92 after installing Slim SEO is a tangible demonstration of how small optimizations can make a significant impact.
- Confidence Boost:
- Improvements validate your efforts and encourage continued optimization.
- User Trust:
- A well-optimized site appears more professional, building trust with visitors.
- Search Engine Ranking:
- Even slight increases in SEO scores can positively affect your search rankings over time.
Transition to Conclusion
“Congratulations on launching your optimized website! You’ve learned how to build, customize, and enhance your site using WordPress and Elementor.
In our final segment, we’ll summarize the key takeaways, provide additional resources, and address any questions you might have.
Let’s wrap up and look forward to your website’s success!”