Section 8: Creating Additional Pages (5 minutes)
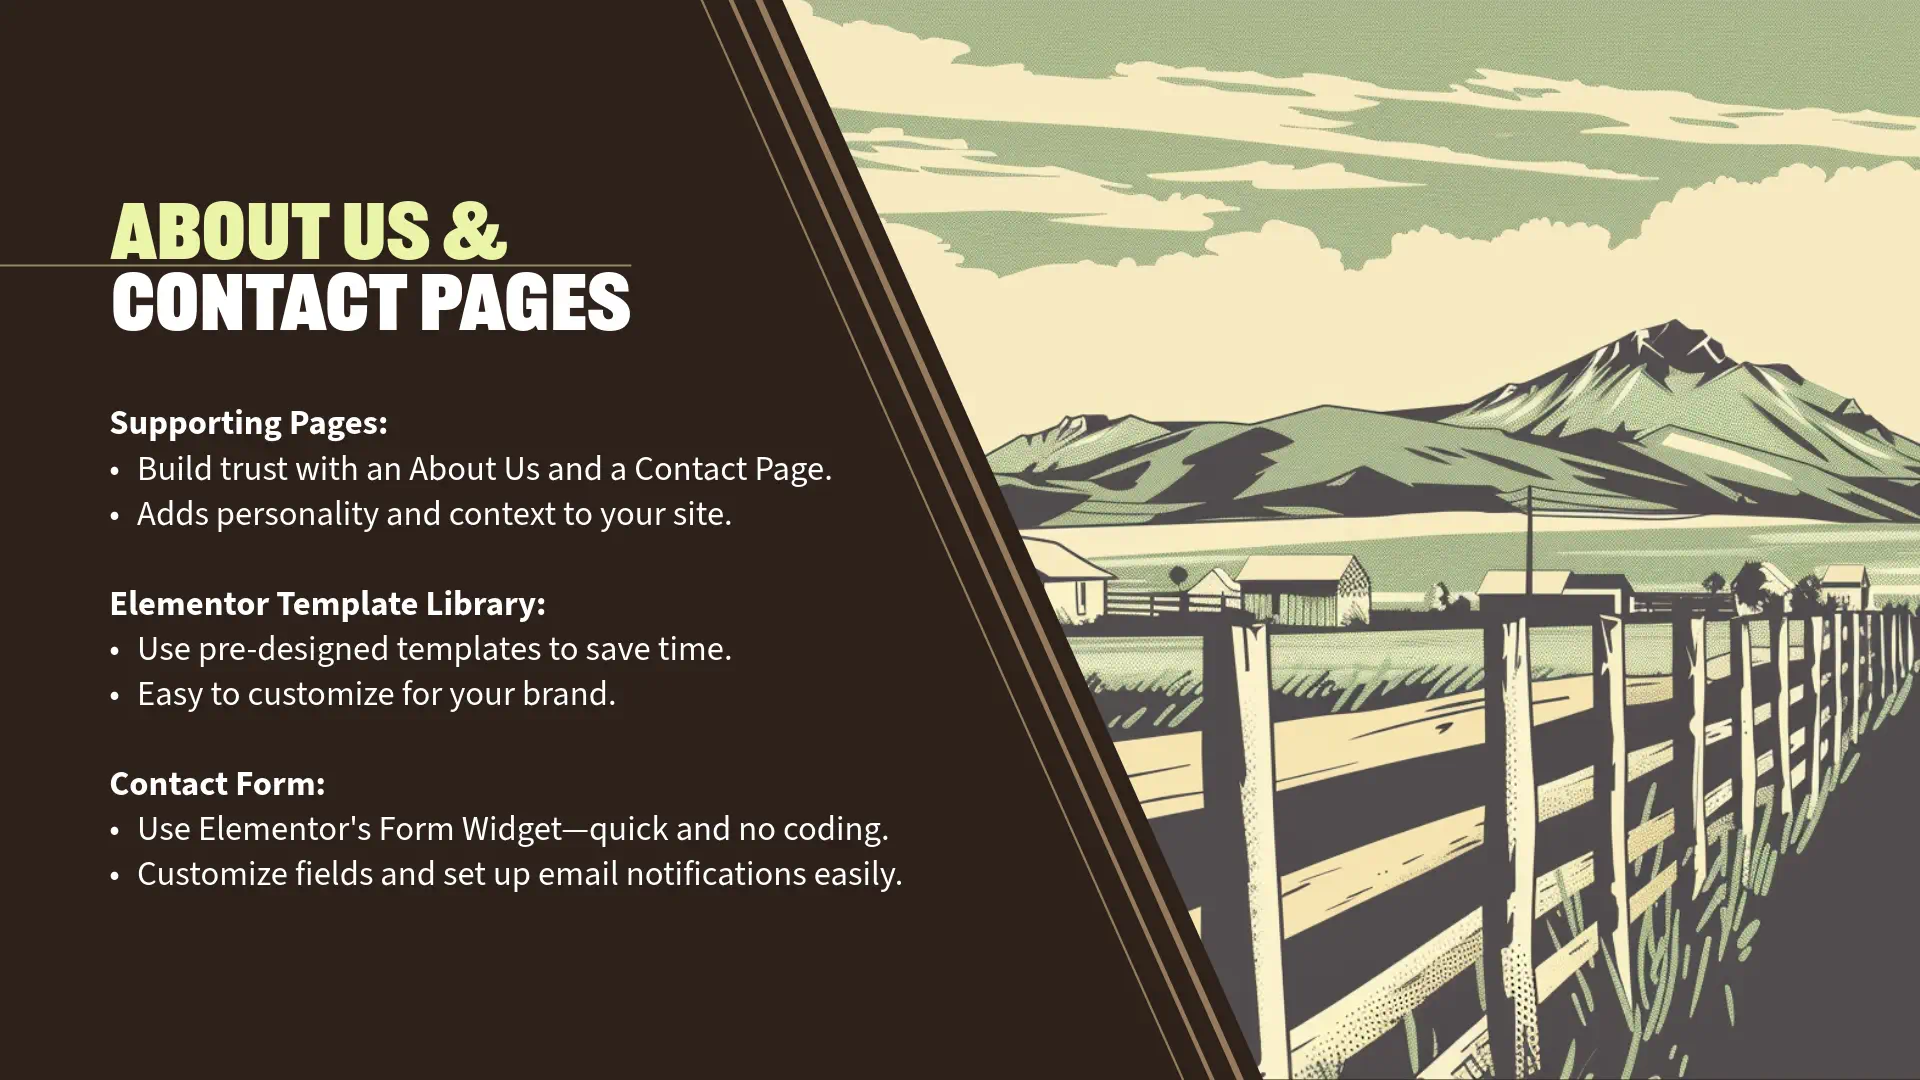
About and Contact Pages
“Now that we’ve crafted an engaging homepage, it’s essential to provide visitors with more information about who you are and how they can reach you. We’ll create two fundamental pages: ‘About’ and ‘Contact’.
Creating the ‘About’ Page
Step 1: Create a New Page
- Navigate to your WordPress Dashboard.
- Go to ‘Pages’ > ‘Add New’.
- In the ‘Add Title’ field, enter ‘About’.
- Click ‘Publish’ to save the page.
Step 2: Edit with Elementor
- After publishing, click ‘Edit with Elementor’ to open the page in the Elementor editor.
Step 3: Use Elementor Templates
- Access the Template Library:
- In the Elementor editor, click on the ‘Folder’ icon in the main editing area.
- This opens the Template Library, which contains a variety of pre-designed templates.
- Select a Template:
- Browse through the ‘Pages’ tab to find an ‘About’ page template.
- You can filter templates or use the search bar to find one that suits your style.
- Note that some templates are marked as ‘Pro’, requiring Elementor Pro.
- Insert the Template:
- Click on your chosen template and then click ‘Insert’.
- If prompted, connect your Elementor account to access the template library.
Step 4: Customize the Template
- Replace Content:
- Click on any text to edit it directly.
- Share your story, mission, or background information.
- Update Images:
- Click on image placeholders.
- In the ‘Content’ tab, click ‘Choose Image’ to upload your own photos or select from the media library.
- Adjust Styles:
- Use the ‘Style’ tab to change fonts, colors, and other design elements to match your brand.
Step 5: Save Your Changes
- Once satisfied with your customizations, click ‘Update’ to save the page.
Creating the ‘Contact’ Page
Step 1: Create a New Page
- Go back to your WordPress Dashboard.
- Navigate to ‘Pages’ > ‘Add New’.
- Enter ‘Contact’ in the ‘Add Title’ field.
- Click ‘Publish’.
Step 2: Edit with Elementor
- Click ‘Edit with Elementor’ to open the page editor.
Step 3: Use Elementor Templates
- Access the Template Library:
- Click on the ‘Folder’ icon.
- Select a Template:
- Browse to find a ‘Contact’ page template.
- Choose a template that includes a contact form or space to add one.
- Insert the Template:
- Click ‘Insert’ to add it to your page.
Step 4: Customize the Template
- Edit Text and Images:
- Update contact information such as address, phone number, and email.
- Replace any placeholder images with relevant visuals.
- Adjust Design Elements:
- Use the ‘Style’ and ‘Advanced’ tabs to tweak margins, padding, and other design aspects.
Contact Form Integration
“An effective contact page often includes a form that visitors can fill out to reach you directly. With Elementor Pro’s built-in Form widget, adding a contact form is straightforward.
Adding a Contact Form Using Elementor Pro’s Form Widget
Step 1: Add the Form Widget
- Locate the Form Widget:
- In the Widgets Panel, scroll down to the ‘Pro’ section.
- Find the ‘Form’ widget.
- Drag and Drop:
- Drag the ‘Form’ widget into your desired location on the Contact page.
Step 2: Customize the Form Fields
- Edit Fields:
- By default, the form includes ‘Name’, ‘Email’, and ‘Message’ fields.
- To edit a field, click on it in the ‘Form Fields’ section under the ‘Content’ tab.
- Add New Fields:
- Click ‘Add Item’ to include additional fields like ‘Subject’ or ‘Phone Number’.
- Field Settings:
- Set each field’s Type (e.g., Text, Email, Textarea).
- Adjust Labels, Placeholders, and toggle Required fields.
Step 3: Configure Form Settings
- Actions After Submit:
- Determine what happens when a visitor submits the form.
- Common actions include ‘Email’ (sends form data to your email) and ‘Redirect’ (takes the user to a thank-you page).
- Email Settings:
- Under ‘Email’, set:
- To: Your email address where you want to receive form submissions.
- Subject: The email subject line.
- Message: Customize the message content. You can use form field shortcodes to include user inputs.
- Under ‘Email’, set:
- Additional Options:
- Confirmation Messages: Customize the message shown to users after submission.
- Email 2: Set up an auto-response to the user if desired.
Step 4: Style the Form
- Navigate to the ‘Style’ tab to customize the form’s appearance.
- Form Fields:
- Adjust typography, text color, background color, and borders.
- Set padding and margins for better spacing.
- Buttons:
- Style the submit button to match your site’s color scheme.
- Adjust hover effects for interactivity.
- Additional Styling:
- Customize error messages, labels, and placeholders.
Step 5: Ensure Responsiveness
- Responsive Design:
- Switch to ‘Mobile’ and ‘Tablet’ views using the responsive mode icon.
- Adjust styles as needed to ensure the form looks good on all devices.
Step 6: Save and Test the Form
- Update the Page:
- Click ‘Update’ to save your changes.
- Preview the Page:
- Click the ‘Preview Changes’ icon (eye icon) to view the page as visitors will see it.
- Test the Form:
- Fill out the form and submit it to ensure it’s working correctly.
- Check your email to confirm you received the submission.
Engagement Opportunity
“Adding these pages enhances your website’s credibility and provides essential information to your visitors.
- About Page Tips:
- Share your story authentically to build a connection with your audience.
- Highlight your mission, values, and what sets you apart.
- Include images or videos to make the page more engaging.
- Contact Page Tips:
- Provide clear and multiple ways for visitors to reach you.
- Include social media links, physical address, and operating hours if applicable.
- Ensure your contact form is user-friendly and accessible.
Personal Insights
“For our Applegate Pumpkins website:
- About Page:
- We shared the history of the pumpkin farm, emphasizing our roots in the Applegate Valley community.
- Included stories about seasonal events and how we celebrate the harvest.
- Contact Page:
- Provided our physical address with a Google Maps embed for easy directions.
- Listed our opening hours during the pumpkin season.
- Used the Form widget to allow visitors to inquire about group visits or special events.
Using Elementor Templates
- Benefits:
- Time-Saving: Templates expedite the design process, allowing you to focus on content.
- Professional Design: Leverage designs crafted by professionals to enhance your site’s aesthetics.
- Customization: Templates are fully editable, so you can tailor them to fit your brand identity.
- Tips:
- Choose templates that align with your site’s theme and purpose.
- Don’t hesitate to mix and match sections from different templates.
- Always replace placeholder content with your own to maintain authenticity.
Transition to Next Section
“By creating the ‘About’ and ‘Contact’ pages, you’ve added significant value to your website, providing visitors with more ways to learn about and connect with you.
In the next section, we’ll focus on setting up navigation menus to help users easily find these pages and navigate your site effortlessly.
Let’s continue building and refining your website to enhance user experience!”